How To: Chick brooder setup
Chick Brooder Setup
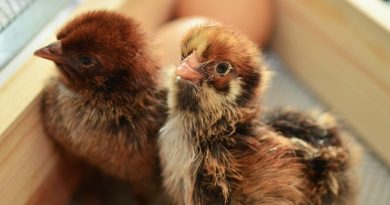
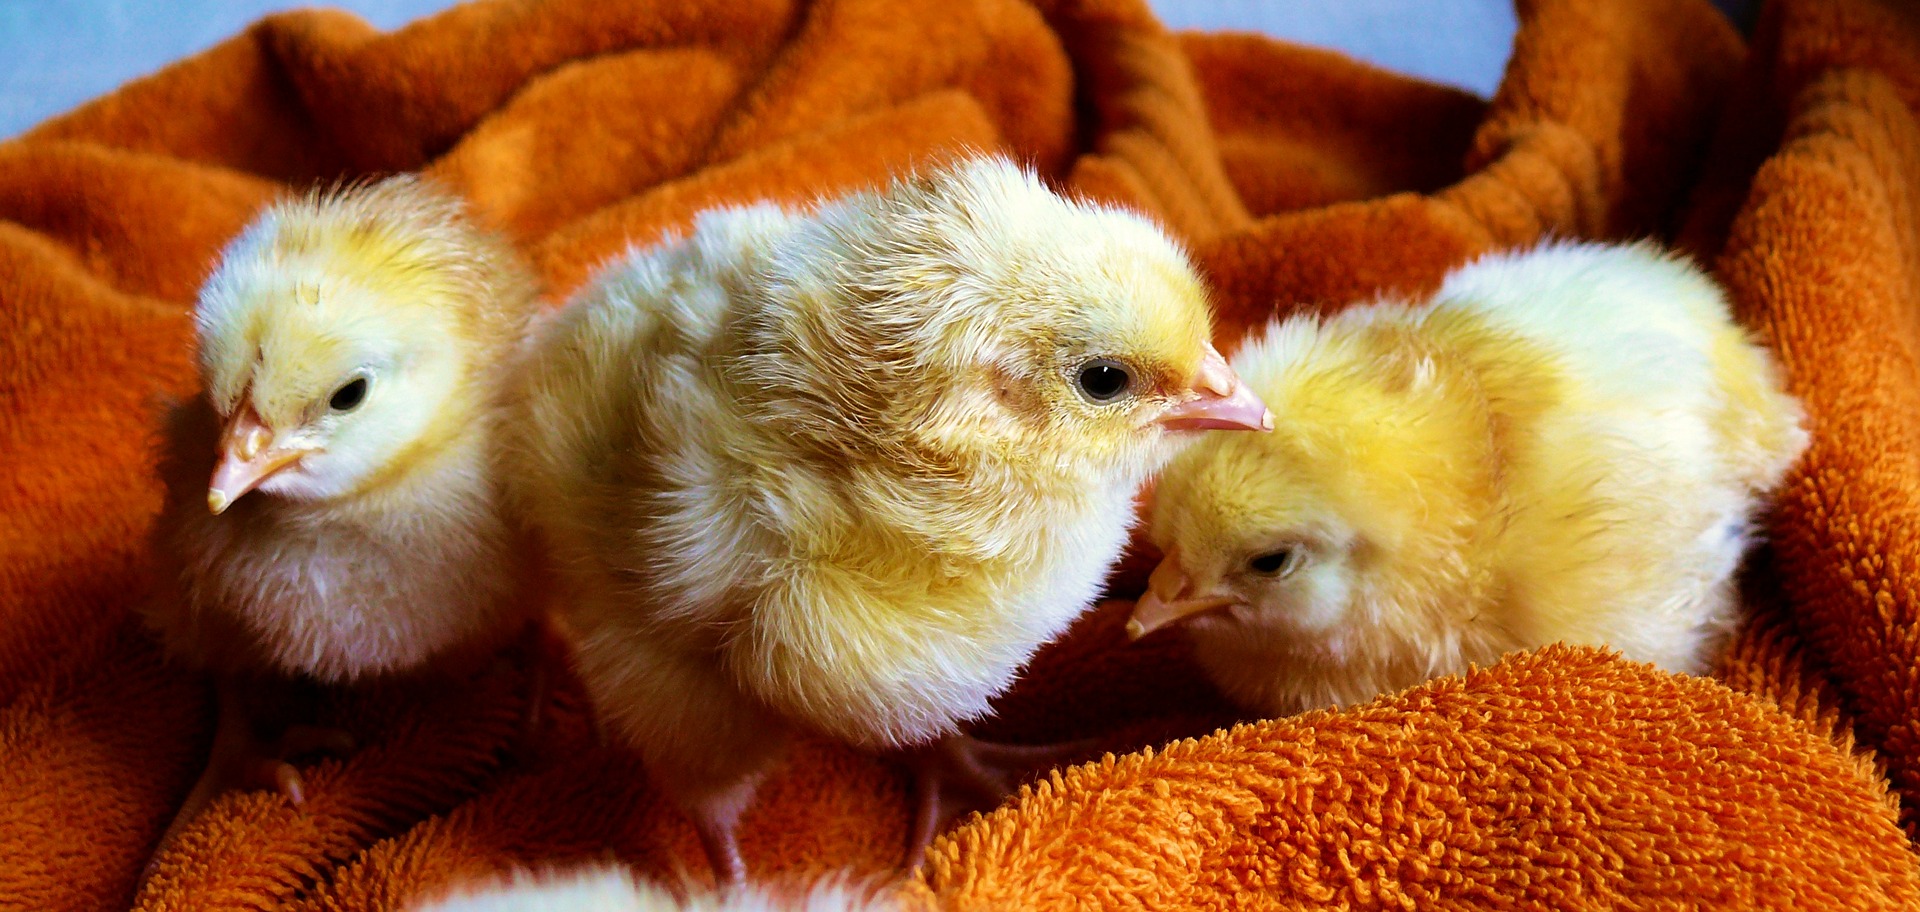
You did it! You have decided on a chicken breed and are now ready to buy your first baby chicks. Now it is time to understand how to setup your chick brooder (their new home). You don’t need to spend a fortune; chick brooder setup can often be accomplished with many items you have laying around your homestead.
Create the perfect chick brooder setup with what you have
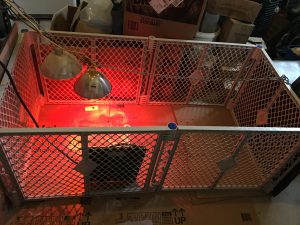
Housing a baby chick is not nearly as complicated as some make it out to be. You don’t need to buy a special brooder, in fact you can often find something laying around your homestead that will work just fine. I have brooded chicks in a dog kennel, card board box, a plastic 150 gallon deck box, and inside a baby/dog enclosure system. So far my favorites are the deck box and the baby/dog enclosure system. Below is a picture of my most recent chick brooder setup. This setup has been great, and is in my garage. I placed a large cardboard box on the cement floor to keep it clean.
Things to consider when looking for a potential brooder on your homestead:
- Chick Containment – Ensure there are no holes big enough for a chick to escape from. The dog kennel I used at one point had bars wide enough for a chick to escape. I used poultry netting secured with zip ties to fix the problem. In the brooder pictured above there were two corners with larger gaps, I blocked those off. I also lined the outside with cardboard until I was sure the chicks were to big to fit through the holes on the panels.
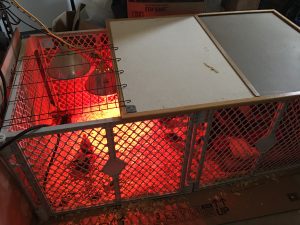
- Brooder Lid – You can get creative with how you cover your brooder, but make sure you do cover it from the start! You will be surprised at how high chicks can jump. In the pictures below you will see I used an old whiteboard and a wire kennel divider panel. Another good option is poultry netting or hardware cloth.
- Flammability – Is this real? Yes heat lamps can start fires, I don’t like cardboard boxes for this reason. Look further down for ways to avoid this issue. Because I brood on wood flakes I am VERY cautious about fires. On the picture above you will notice my lamp and back up lamp are both connected to a chain. The chain is anchored to shelves. It isn’t clear in the picture, but the lamps are each connected to the chain twice once with the built-in hook and also with a zip tie holding the cord. Redundantly securing them is part of my fire mitigation plans. NEVER use just the clamp most of these lamps come with, always secure them in multiple ways.
Chick Care – Brooder Temperature
Temperature – Heat is important for chicks. Generally, you should ensure your brooder is 95-100 degrees when measured at the floor. This should be the temperature BEFORE you buy your chicks and bring them home. Reducing the temperature by 5 degrees each week is generally the recommendation. Temperature adjustments are accomplished by moving the heat lamp up and down.
Despite the advice about brooder temperature, I prefer a brooder that is long enough that the far side is not heated by the lamp. I place food and water on this side (see picture below), allowing the chicks to self-adjust their temperature based on location in the brooder. I also prefer to run a 125w red heat lamp rather than 250w. It doesn’t burn as hot and lowers my fire hazard, however, this only works if the brooder location is where it won’t get too cold. I also use a heat mat that holds a constant 95-100 degrees along with my lamp. Chicks who are cold lay on the mat and get toasty. Again, I prefer redundancy so I use both the lamp and the mat.

Chick Care – Brooder Bedding, Feed, and Water
Bedding – I use wood chips from the start. Some people recommend newspaper for a few days, this is your choice. Change the bedding weekly at a minimum.
Food and Water – Ensure feed and water are always topped up. I do an AM and PM check. Ensure all your chicks can eat at the same time, it saves fights. I prefer the medicated feed to prevent coccidiosis. Coccidia medication is not an antibiotic and should not be needed past 8 weeks. You make your own decision as to whether you want medicated or non-medicated feed. I recommend you research it thoroughly.
Brooder Must Have Equipment:
Brooder Lamp (with bulb guard)
125w Heat Lamp Bulb
250w Heat Lamp Bulb
Waterer and Feeder
Homestead Geekery:
Great reads on raising chickens
Whether you want a redundant heat source or you want to reduce the risk of a fire, you will love the heated chicken mat.
A thermometer is a must in a brooder. I have loved using the Ambient Weather Thermo-Hygrometer. I keep one in my shed, brooder, and coop. With the temperature alarms I will be notified if there is a major problem for my animals.